Monday, October 22, 2012

Wedding is all about "喜喜" and Reds

I'm pretty surprise myself how "traditional" i can be.  While most brides shun from the traditional REDS and all, i'm actually loving them.  The redder the better! LOL!

And yes, expect to receive a very RED invitation from me soon! And yes, my gown is RED.

*HUGE GRINS*

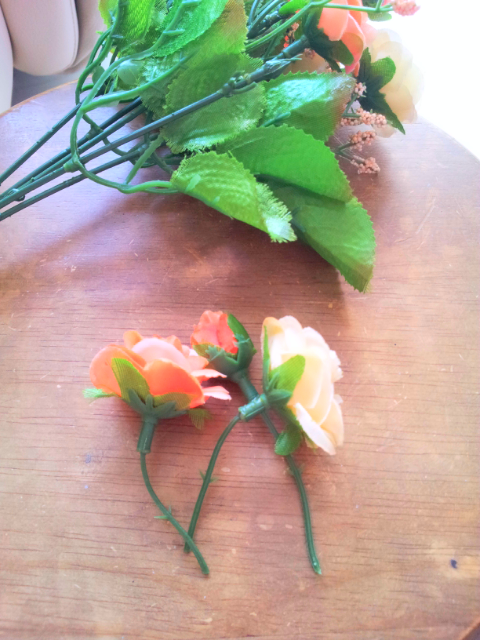
Over the weekends, i got quite a bit of things done.  Firstly, i got too bored and did these!  Seriously, i have no idea what i'm gonna do with it.  I just like it so i did it. Psssh.


They're really easy to make, if you have.. this!


It's a "xi" cutter which you can get from Popular bookshop at about $14 (i think). I bought mine at a few dollars more from a wedding shop at Toa Payoh Central cause it was sold out at Popular.  I had to have it so i bought it lorh!

And once i got home, i got a whole box of them done!  They look so cool, but i have no idea what to do with them now >.>


What else?  My dearest mommy has settled the 过大礼 stuff over the weekends at this wedding shop at AMK Jubilee.  Not that i'm "bad-mouthing", but stuffs from these wedding shops are WAY over-priced.  If you drive or ain't bothered about the trouble it takes to carry stuffs back from Malaysia, you should totally buy them from across the border.  The whole package of 过大礼 stuff for Brides cost about SGD170 or so depending on the designs you choose, while those from M'sia cost only a little over RM200!  What the hell right? Owells, but there's always people like us (my mom and i) who prefers to spend more to save the trouble. Kua kua kuaaaa...

And JF and parents had settled the 过大礼 cakes from Pine Garden at AMK as well.  He said it's yummy!

Soon soon soon, i'm gonna settle my very red invitation cards!

Till thens!

Tuesday, October 16, 2012

So secretive, not?

So today i learned something new. Post encryption! Coolness. I hope this works, otherwise... Good game. If you're an IT expert, stay away huh!

Sunday, October 14, 2012

The Bride, tempted by her own DIY.

My room's a total mess now with all the wedding stuff stacking around.  Every day, i walk pass the beautiful flower garlands i made for my sisters *coughs* *self-praising* and i sooooo wanted one for myself too.

Even if i have no chance to wear it on my wedding day.  I can still take a picture of myself in it right!  So yes i did it! As if i have nothing else better to do, i made a flower garland for myself today ;D

"Strangely", i already have everything i needed to make the Bride's flower garland *grins* You see... i knew this will happen so i bought extras of everything. HOHOHO.  Such foresight!!!

And this time, i'm gonna share a bit more how i made these flower garlands!


There are many materials we can use to make the skeleton of a flower garland.  Craft wires, rattans or anything that fits the head basically.  I used these from Daiso.  They can be found at the gardening section, cost only $2 and they already come in the shape we want it to be!


For measurements, a good fit would be about 56cm in circumference.  But we'll cut extra and measure it again on the head before fixing the size.


Once the size is decided, just tape it up! So simple ;D


And tadaaaa!!!!!  We got a flower garland with no flowers *nice*


For a easier-to-do flower garland, get these wired flowers.  Limited colors and designs though.  Daiso sells them.  There's the common pink, white, yellow, blue, red colors.  Or you could buy them on ebay.


I used those wired flowers for my sisters' garlands.  But a Bride's gotta be different!  So i bought a bunch of these flowers!  You can get any flowers, just make sure them have stems.


Cut the flowers and leaves individually right at the ends, leaving enough stem length for tying later on.


Then we wire up the flowers with flexible wires (from Daiso as well).  Remember to leave enough length to twist around the skeleton of the garland ;)


It doesn't really matter how messy the wiring gets as long as the flowers get secured properly.  But make sure the sharp ends of the wires end on the inside of the garland and are not sticking out.


Go around the circumference, placing the flowers where you want them to be.
To hide the "mess" of wires and stems, i used white ribbons.  Just stick double-sided tapes on the ribbons and go around the circumference again.


This may take quite a bit of patience.  And it really depends on how particular you are.  As you can see, i didn't pay a lot of attention to the details, except ensuring the wires and stems are all covered up.  The uneven ribbon twirls are barely visible when we put it on, so i guess it doesn't matter?  As said, it's up to individual.


Adding a little details with flowers or ribbons to the back of the flower garland will make wearing it look really nice. Really.


That's basically how i made my flower garland.

Dones!


Joy!  Snap a pic!


Loving it loving it.. x1million times!


Saturday, October 13, 2012

Wedding diy: Ang Bao Boxes

While googling for wedding DIYs, it seems like every other brides' #1 DIY would be their card boxes or ang bao boxes.  There were even rental and services of personalizing these boxes for the couples (at a cost of course).  As a bride-to-be, after seeing so many beautiful pictures of these boxes, i started imagining what i could do for my own..

One thing for sure, i wanted a tiered box.  And next, there's gotta be ribbons.  And well, i almost wanted to "crystal-lize" them with blings too!  But that's gonna take so much effort.. plus so much money!  Big NO NO.

Deciding on how to tier the boxes and what to tier on top of another was a major headache.  After a lot of thinking, i finally started working on building up the base with a A4 paper box, and left whatever's next, to-be-decided.

Thankfully, when i got things started, everything else just came along.  Although it took awhile, the final result was total satisfaction.

Work in progress?


Well, right now, they're all done!  There's more to be done if i still had the luxury of time, but right now, i'm striking this off my checklist!!!!

-panic mode-